Kitchen garderning training at Bogamachuko
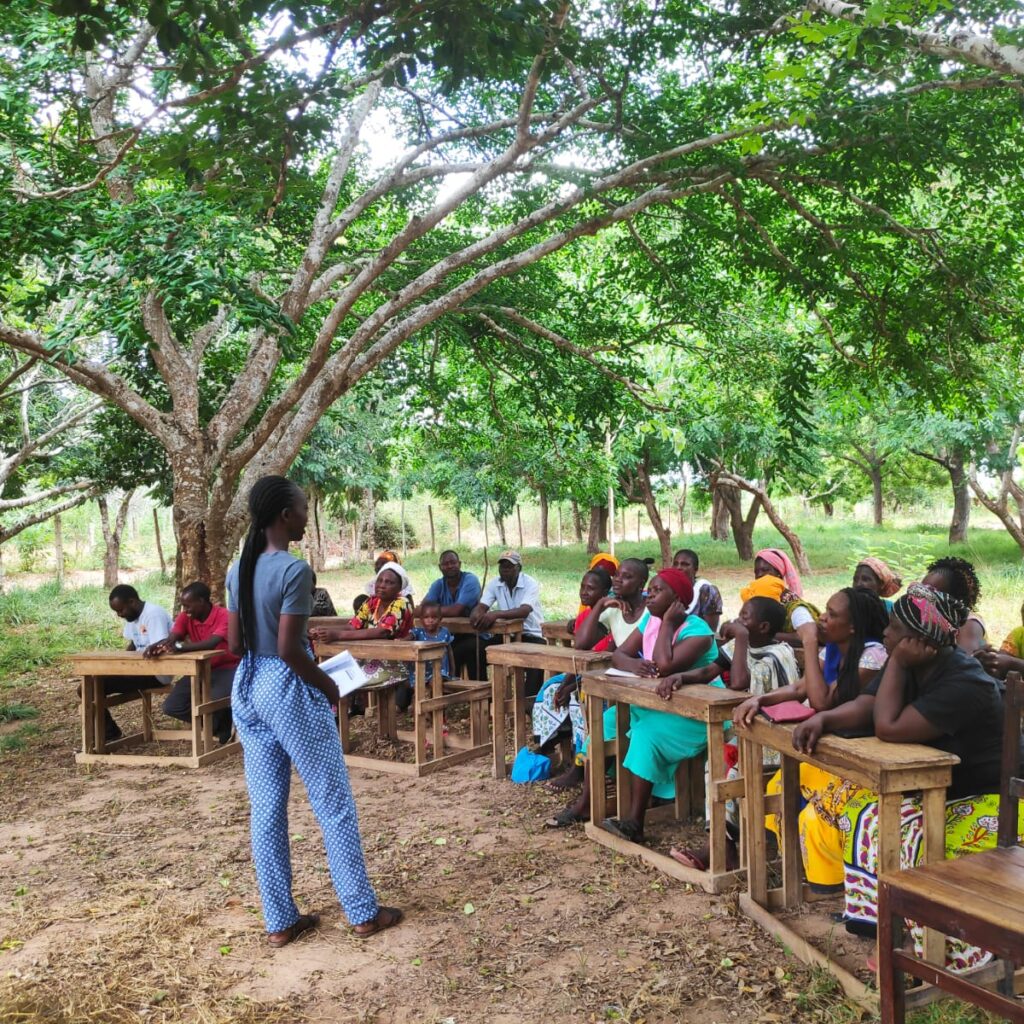
The kitchen gardening training at Bogamachuko was a wonderful experience. We got to learn the different farming methods the individuals were embracing and the output status in terms of yield and crop production. Defining Kitchen gardening is vital to answer the questions on why it is a kitchen garden? what crops I should plant on the garden and how should I maintain the garden, these were among the myriads of questions that this training session sought to answer. Our Environmental officer, Lenah Akoth and Gideon Kishoyan who were both well acquainted with the agricultural and environmental conservation matters took the lead on this training.
Showing previous successes and performance of other farmers in the different area around the Arabuko- Sokoke Forest seemed to have been a better encouragement as their eyes would beam at the different pictures and images of the kitchen garden that has been set up by different farmers. They were so encouraged that this project was doable, and they felt confident that they would put every part of the Kitchen gardening installation into practice at home. Having shown this great commitment we proceeded to the practical training which was led by Kishoyan.
The Kitchen gardening installation process involves different stages which are crucial and therefore ought to be followed keenly to the end. The first stage is the mixing of manure and soil in the ratio of 1:1 near the site of the sack garden. This will make transportation easier and save you time, for it could get heavier as you add other components. Then we placed a hollow tin in the middle of the polythene/bag at the bottom this helps your sack to be steady and straight up.
The hollow sack was filled with ballast and the space between the tin and the polythene bag with a mix of manure and the topsoil, then the sack was unfolded as we filled the sack with ballast. Once it was filled to the top, it was pulled out and any new spaces filled with stones. This stage was done repeatedly until the whole polythene bag or sack had a tunnel down in the middle. Right after this holes were made the holes were the size of a coin on the bag wall using a sharp stick each having a gap of 15 cm between each hole. It was important to note that the holes would form a “V” shape, and that the holes are not in the same vertical line to prevent blocking some from getting direct sunlight.
Finally, our facilitators demonstrated how to plant seedlings in the holes carefully so as not to damage the roots by pressing the soil around the seedlings using the fingers to make it firm. It is advisable that if the farmers wanted to plant different types of crops, root crops (eg, bulb onions) were the best solution and they were to be planted at the top and leafy vegetables (spinach or kale) on the sides. Most of these other crops like the bulb onion have strong antibiotic and antimicrobial properties which are used to inhibit soil-borne diseases. Water is a necessity and the farmers were advised to pour water down the ballast tunnel they would need approximately 20 litres (1 jerry can) of water for 2 days. We pray and hope that the kitchen gardens would thrive!!